In a previous guide to forms, we showed you how to prepare ActiveCampaign forms and custom fields and how to use personalization tags to auto-populate form fields.
Building off that lesson, this guide will show you how to link forms together and use personalization tags to auto-populate fields with the data that contacts previously provided.
Multi-step Forms
You don’t have to think of forms as “one-and-done.” You can break them up and use a series of shorter forms to create a multi-step process that gathers information from your contacts as needed instead of all at once.
The multi-step approach to forms is helpful because:
- It limits the amount of time a customer spends providing data on a form. Contacts are more likely to complete and submit a short form than they are a longer form.
- It provides a more personalized customer experience.
- It allows you to gather data throughout the customer lifecycle, as it becomes relevant and the need for it is clear.
- When combined with pre-populated form fields, it decreases the chance of inaccurate information.
To begin a multi-step process, consider two things:
- What forms do you want to create?
- What custom fields will you need to create?
Then, begin creating your forms and any custom fields you need for them. When considering which fields to include in your forms, think: “What is the next piece of information I need to know after getting that name and email address?” As a general rule, try to keep all forms as simple as possible so you’re only collecting the data you know you’ll need.
Once everything is built, you can link your forms. We’ll show you how to do this in the use case below.
Use Case: Linking Two Forms
To demonstrate how to link two forms together, we’ll use the example of an adventure travel agency with a general opt-in form on its website. As the agency’s marketer, you use this form to collect just “the basics.” That is, contact Email and Full Name.
However, after collecting a name and email address, you would like to collect additional information that will tell you more about your contacts’ travel interests so you can get more targeted in your marketing efforts.
To do this, you would like the general opt-in form to link to another form upon submission:
Form #1: General Opt-In
Form #2: Tell Us More Before Booking
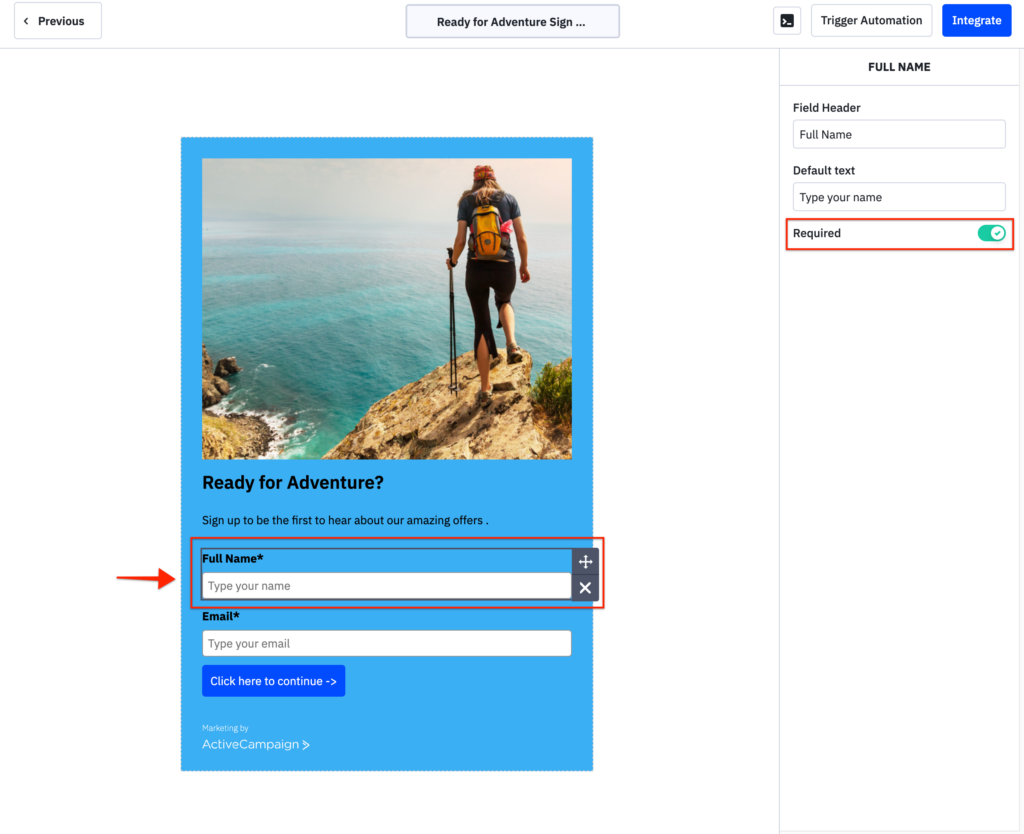
Recall that the purpose of Form #1, your General Opt-In, is just to capture a name and email address. It should be simple and clearly indicate that this is how interested visitors to your website can subscribe to receive more information about your services.
Ensure the “Full Name” field is mandatory by clicking on the field and toggling “Required”. This way, a customer cannot fill out the form without providing that information.
Remember, all ActiveCampaign forms are Confirmation Opt-In (also known as double opt-in) by default. Since you’re subscribing someone to a list, you may want to keep this setting on for this form, but for the following form, you should turn Confirmation Opt-In off; you don’t want contacts to have to open an email every time they submit a form.
Alternatively, you could turn Confirmation Opt-In off for both forms and instead create an automation that reminds your contacts to complete Form #2 if they don’t submit it immediately after Form #1.
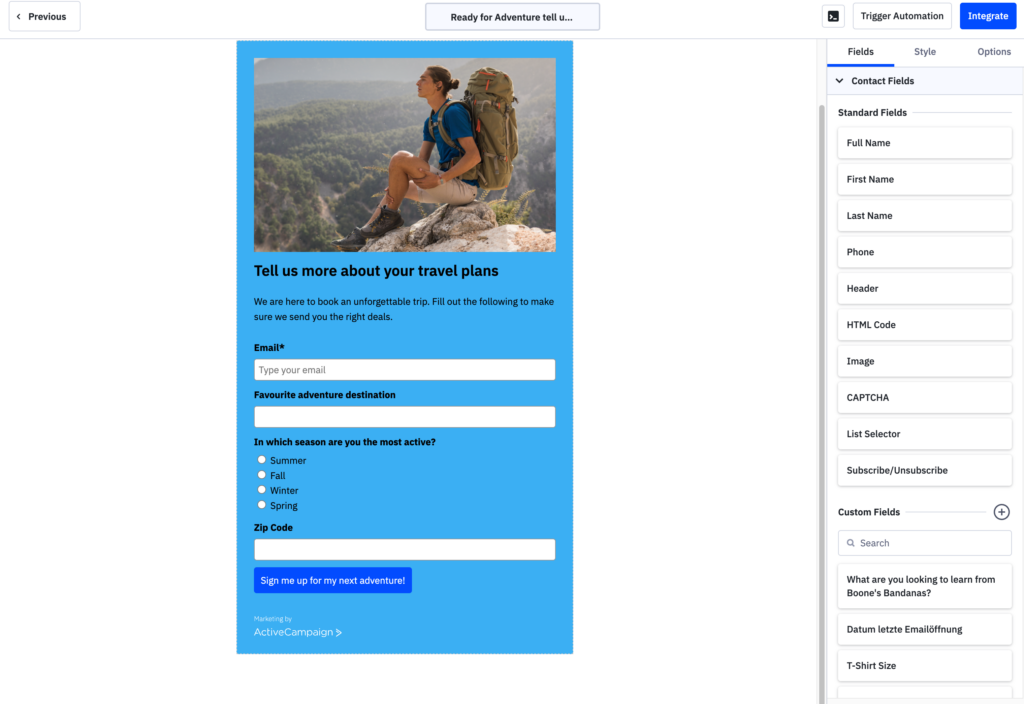
Since Form #1 only captures basic details, you can follow it up with Form #2, Tell Us More Before Booking, to capture more information about your customer and better understand their travel interests and plans.
Linking a Form
To get started, open both of your forms in separate browser tabs.
To follow up Form #1 with Form #2, navigate to the tab in which you have Form #1 open. Find the On Submit option, select Open URL, and paste Form #2’s URL into the field provided. For step-by-step instructions on how to do this, click here.
When a contact submits the General Opt-In form, they will be directed to the Tell Us More Before Booking form, which prompts them to provide the additional information you’ll need once they opt-in.
Auto Populating Fields in a Linked Form
Next, since you already collected the contact’s email address with Form #1, you can use a personalization tag to autofill the email field in Form #2. This step is important because it limits the amount of time a contact spends filling out your form and makes the process as easy as possible, so they’re more likely to provide the information you need.
It also eliminates the chance for human error; if a contact enters an email address with a typo, that incorrect address is then stored in your ActiveCampaign contact database. By auto-populating the email address field, you ensure that information is accurate.
Note: If you’re wondering why you should include an email field in Form #2 if you already collected that information with Form #1, remember that in ActiveCampaign, a contact cannot exist without an email address; what this means is that all the data and information that exists in a contact’s profile is tied to their email address. The form needs an email address so ActiveCampaign knows which contact to attribute the new information to.
To autofill a contact’s email address in the email field in Form #2, use a URL parameter incorporating the email field personalization tag, %EMAIL%. You will need to add the URL parameter to the end of the Form #2 link that you copied and pasted earlier in the On Submit option for Form #1:
URL parameter: ?email=%EMAIL%
If you also want to include and auto-populate the First Name field in Form #2, you can do that as well with the URL parameter ?email=%EMAIL%&firstname=%FIRSTNAME%. For more in-depth instructions on adding a URL parameter to a form link, click here.
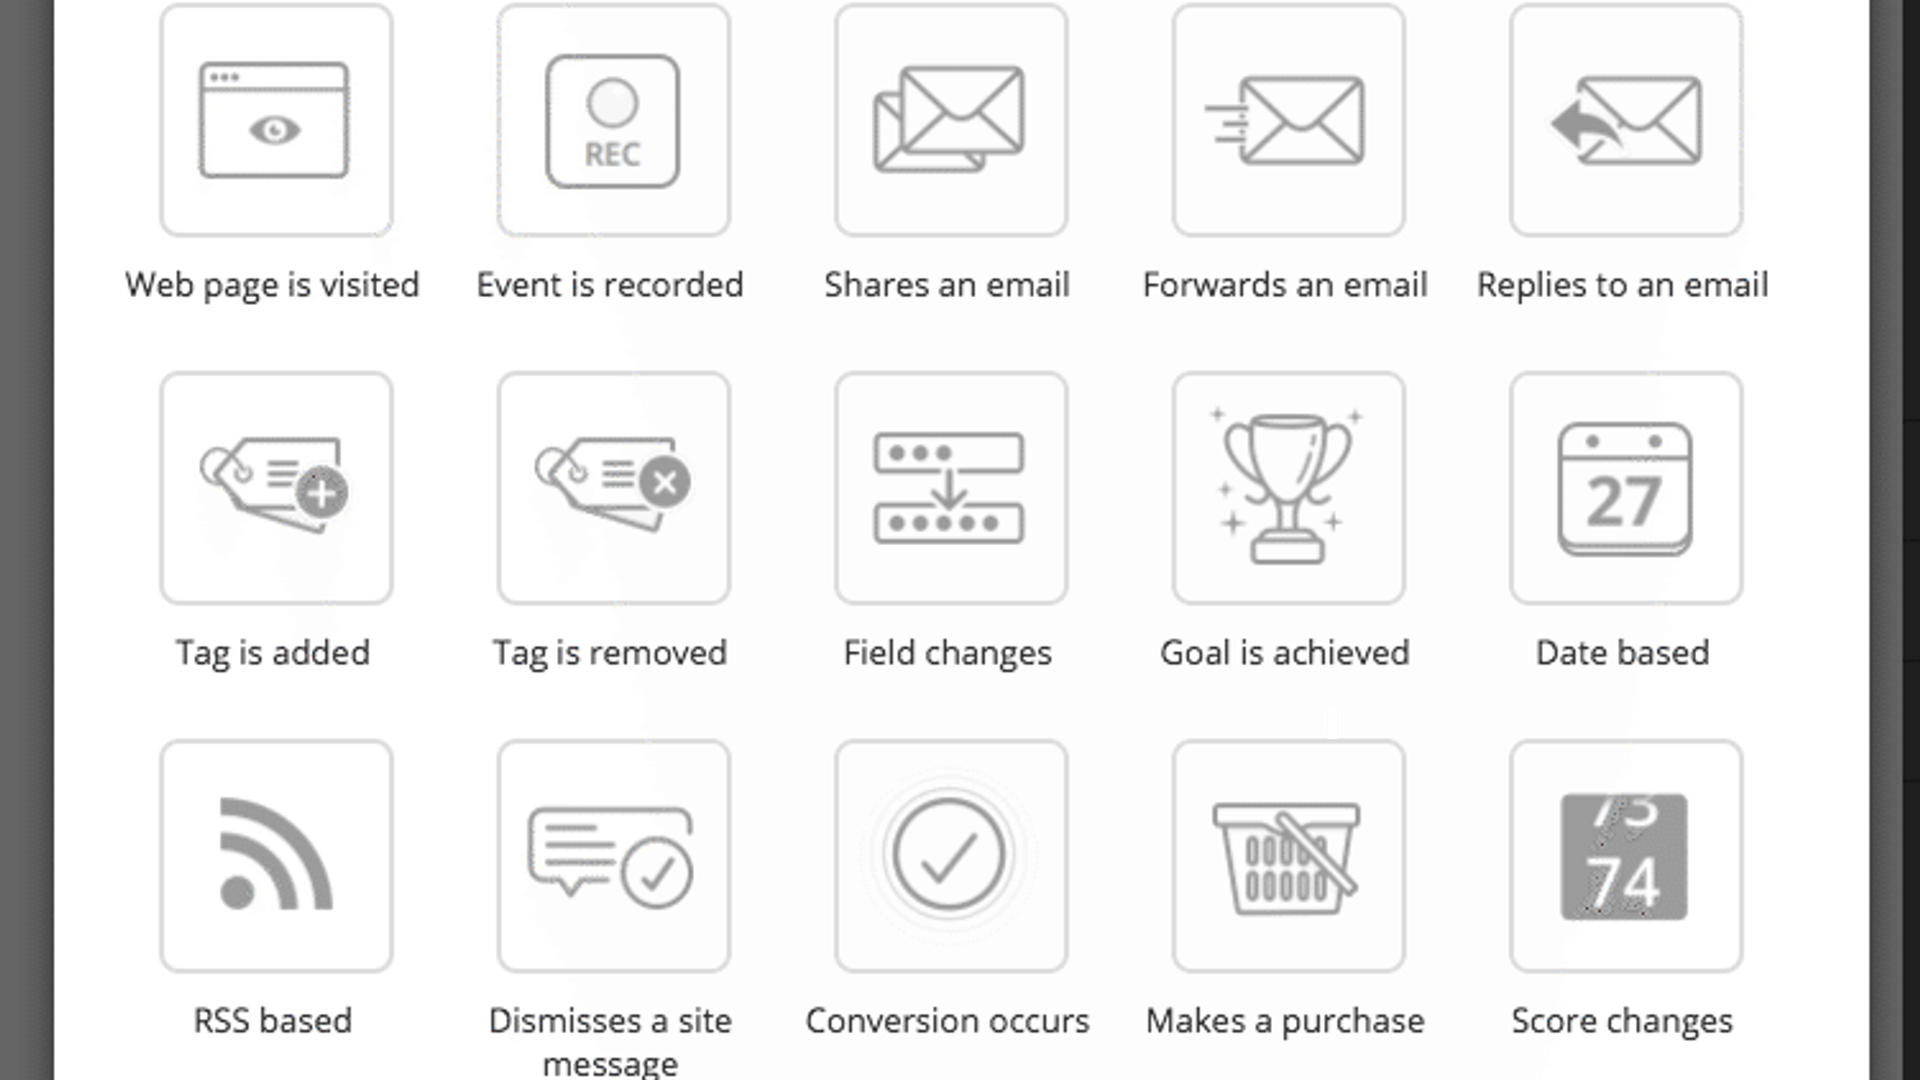
Automation
If you like, you can add another action to Form #2 that applies a tag to a contact after they submit the form. This way, if you want to build an automation targeting contacts who submitted both linked forms or those who submitted Form #1 but left Form #2 incomplete, you can easily segment those contacts and drop them into your automation.
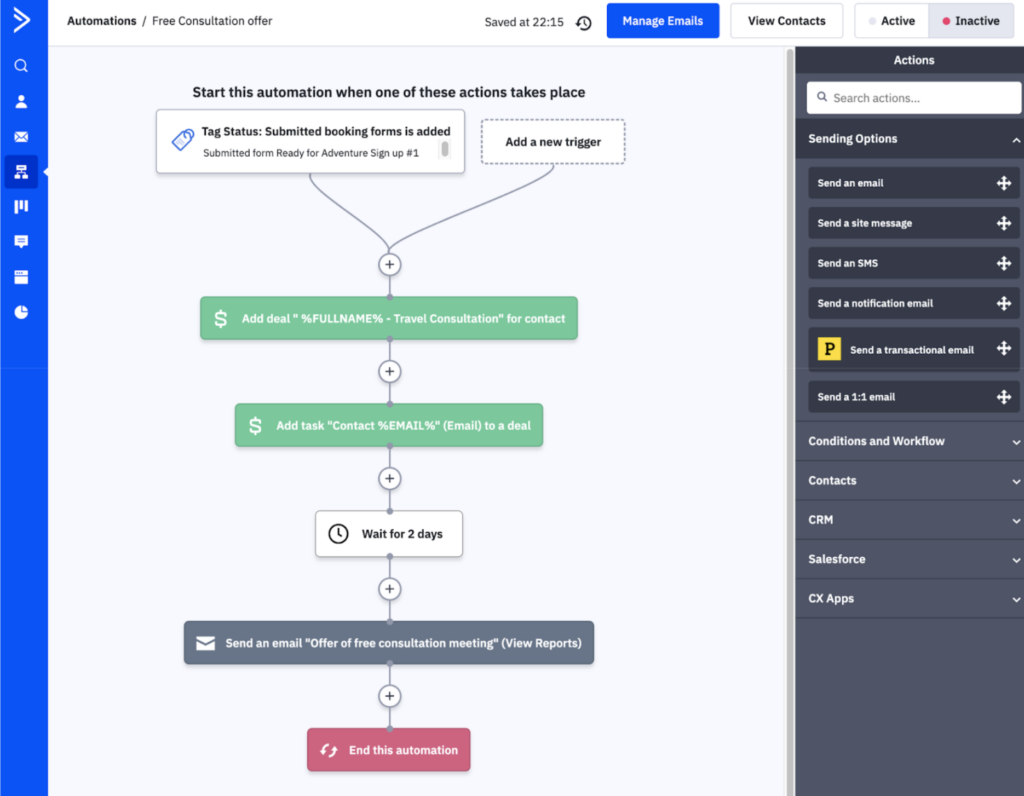
You could take the multi-form process in this example further by using an automation to send a third form to contacts who submit the first two. Contacts who submit both of your forms are excellent leads, so you could use a third form to sign them up for a consultation and, collect more information to get their trip booked and create a deal so your sales team can reach out.
Your automation might be triggered by the application of the tag you used to indicate a contact has filled out both Form #1 and Form #2. You could use a wait condition to wait a day or two before sending a campaign email containing a link to Form #3.
Learn More
This is just one example of how you can use a series of forms to collect data. If you ultimately need to collect a lot of information from your contacts, creating multiple forms that link together breaks up the amount of data entry you’re asking contacts to do at any one time.
Using personalization tags to autofill form fields makes form submission easier and faster for your contacts. Used together, these tactics provide a more personalized customer experience.
To learn more about using personalization tags to auto-populate form fields, read our guide on the topic.
To learn more about creating a form, read our guide to form styles.
If you’d like to learn more about adding a form to your website, we have a guide for that too!