Introduction
An automation is a sequence of actions and conditions that you create to help execute your business processes. These processes can be internal or external, freeing up your valuable time and increasing the probability of achieving your ultimate business goals.
You will need to consider and be strategic about who enters your automations and how often they can enter. Identifying and configuring the automation start trigger is a step that seems simple but often influences the success or failure of your automations.
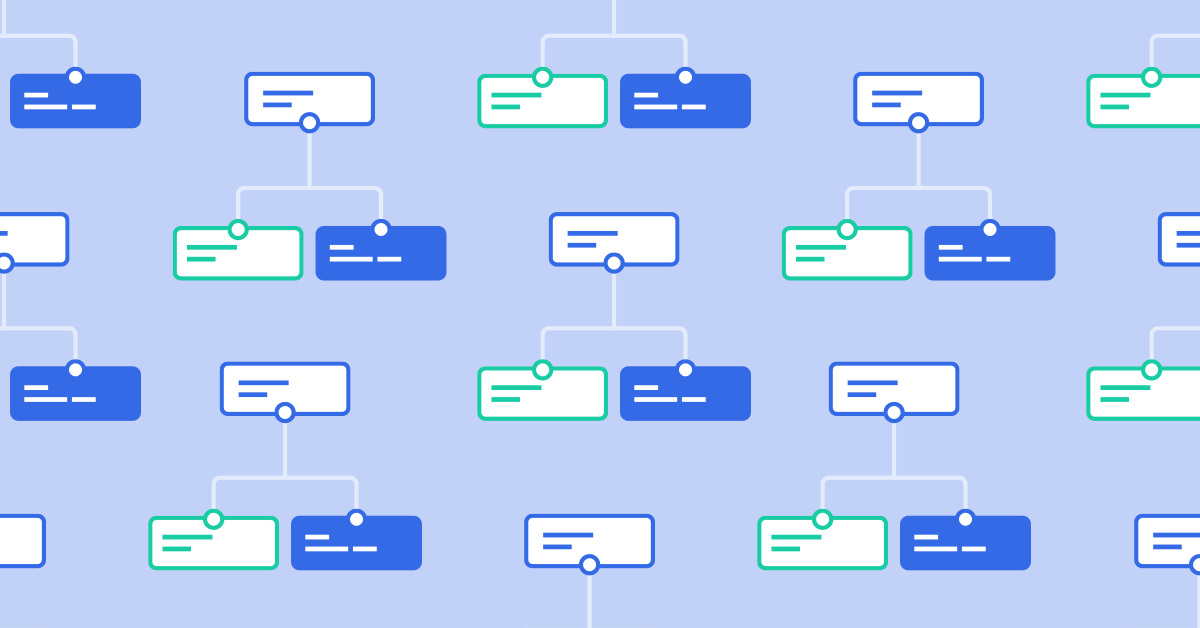
Let’s break this down to understand the intricacy of configuring start triggers. Automations should have a single objective or goal. Let’s think of the goal as your destination. There is a train ride to get to the destination, so think of the automation sequence as the train ride.
Contacts must meet specific criteria to climb aboard and embark on the train ride to their final destination. Let’s explore this further.
All aboard: Selecting A Start Trigger
The first criterion that contacts must meet in order to enter an automation is a “start trigger.” Contacts can execute start triggers by taking a specified action or when data changes on a contact’s record. When either is true, the contact is eligible to board the automation.
There are more than 20 automation start triggers in ActiveCampaign. Options range from “Submits a form”, “Tag is added”, or “Subscribes to list” to less typical triggers like if they share a specific email, achieve a goal, or experience a change in their lead score.
You can set multiple start triggers for each automation. This lets you implement automations that cater to contacts’ diverse behaviors and characteristics.
It’s also important to note that start triggers are not retroactive. This means that triggers apply only to changes in a contact’s record; the mere existence of contact data — such as subscriptions to lists or the presence of tags — does not equate to meeting the condition. Only when ActiveCampaign detects a change in that data (i.e. a tag is added or removed, not just present) is the contact eligible for boarding and moves one step closer to your automation.
Departure Time: How Often Can Contacts Enter?
The second step is determining how frequently a single contact can enter one automation.
Once you determine the trigger for the automation, you will also have a dropdown to select either Runs Once or Runs Multiple Times. “Runs” refers to how many times one contact can enter the same automation. You will set this option for every start trigger when building an automation.
If you select “Once” then contacts can enter the automation only once, even if the contact satisfies all start trigger conditions again at a later time. This means that when the train departs, the contacts will no longer be eligible to board at a later departure time. However, if you select “Multiple times, “contacts can enter the automation every time they satisfy the start trigger criteria.
Last Stop: Advanced Conditions
Using the “Advanced” option in start triggers creates a final criterion that must be met before contacts can enter the automation. Building out these advanced conditions may look familiar to you as it is the same segment builder you will find in over 10 areas of ActiveCampaign.
If contacts meet the first two criteria, here is where you can still get more targeted to ensure the right group of contacts are receiving the right message at the right time through the right medium.
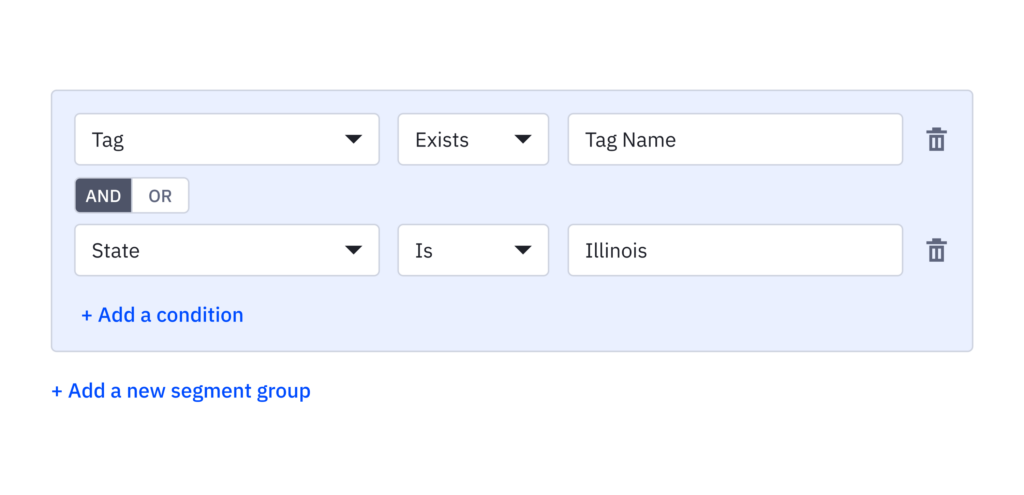
Building advanced conditions for your start trigger is not a requirement, this tool is simply an option that lets you segment contacts even further to aid in your success with automations.
But remember, if you do configure any further conditions, that means contacts must meet that criterion along with the first two steps to enter the automation journey. The purpose of all this is to create automated, targeted, personalized engagement so that you boost the chance of achieving your business goals — sales and otherwise.
Be sure to read over our segmentation guide for a full understanding of all the characteristics and behaviors you can segment contacts by.
Not Working As Planned? Check Your Integrations
Sometimes, you might think your automation isn’t working. Perhaps contacts aren’t segmenting as you hoped, or they’re entering automations only once when you wish they’d enter every time a change on their contact record matches the start trigger.
Our advice is this: Whenever you think an ActiveCampaign automation is broken, check to make sure the Start Trigger, “Runs” conditions, and Advanced settings are configured to your liking. Typically, automations do not break. Instead, you might overlook a setting that prevents an automation from performing the way you intended.
Such scenarios are especially common when using third-party integrated tools. To avoid any confusion with automations, we recommend knowing which platform controls the three gateways to entering your automation.
If you’re allowing contacts to enter automations from a third-party tool, ask yourself this question:
Is my third-party software responsible for executing one of the 20 start triggers in ActiveCampaign?
If yes, great. A third-party tool can direct contacts to your automation, and in fact, that is the simplest and most powerful way to handle automations. When you’re able to sync the action on a third-party tool to one of the start triggers, you can then configure frequency and further segmentation, respectively to your liking. This way, although the activity occurs outside of ActiveCampaign, you can still segment contacts into your automations exactly how you would like.
If the activity is not one of the ActiveCampaign triggers, that means you’re limited by whatever segmentation tactics the third-party tool offers and chances are the options are not as robust. If the activity is not an ActiveCampaign trigger, then contacts who experience that change enter the automation regardless of how you configure steps two and three. In other words, ActiveCampaign is not in total control, and you might get the impression that things aren’t working as they should.
Summary
ActiveCampaign is built to automate and execute actions (changes in data) based on your contact’s engagement with your business. Simply by using our platform to its full potential, you can expect to easily build fully-functioning automations that perform as you desire.
And by understanding the three steps to correctly configure start triggers you will seamlessly add contacts to automations ultimately leading to the completion of goals and objectives throughout your customer journey.