Introduction
Automation is at the core of ActiveCampaign. You can use automation to drive your marketing efforts and remove repetitive manual daily tasks. Ultimately, automation gives you time to focus on high-value human touchpoints within your business’s customer journey.
One of the most meaningful ways to use automation is by creating processes that listen and respond to customers automatically. By utilizing a simple welcome series automation, you can manage your list, send a campaign, and then respond with an additional email campaign based on whether or not the initial message was opened.
Let’s dive into the three steps needed to unlock the power of a welcome series automation.
Set-Up Your Start Trigger
This automation will help you begin conversations with your customers, greet people who joined a list, and even send an incentive if that’s your thing!
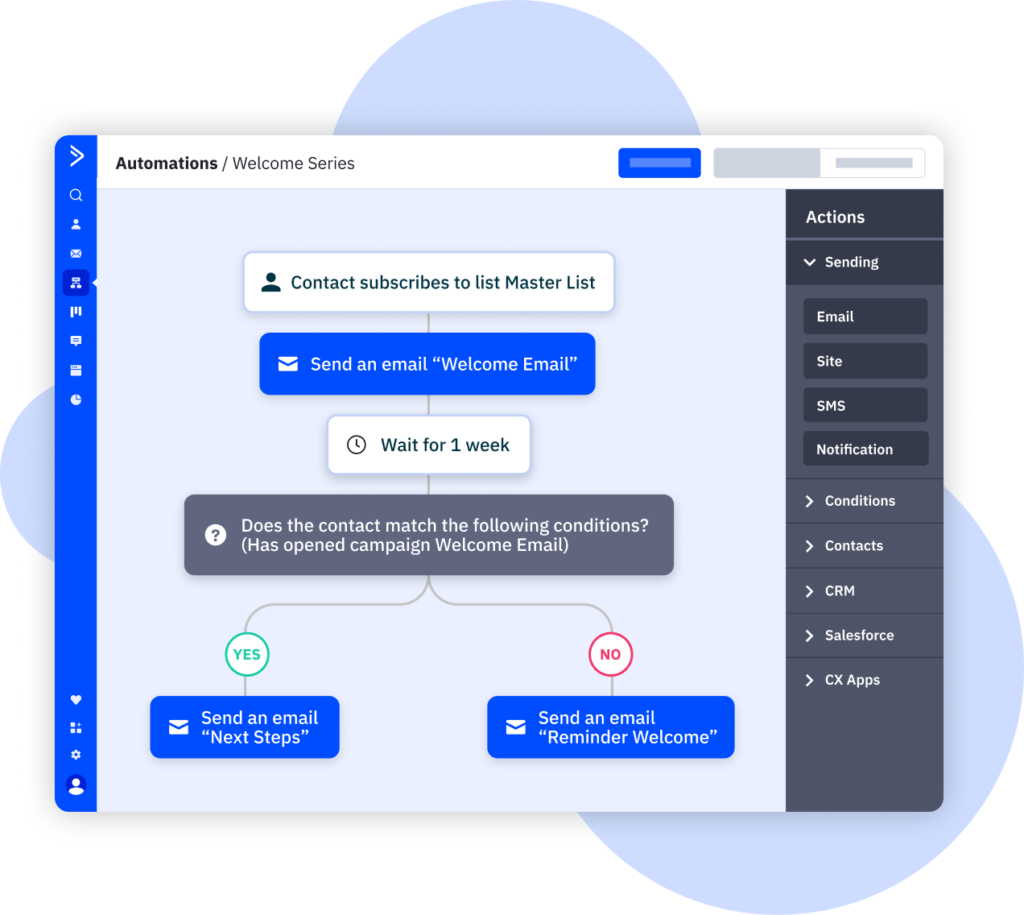
The first step to creating an automation is selecting the start trigger. The start trigger determines how contacts are added to automations. Once the contact meets the trigger condition, they will progress through the workflow. In this case, you will choose the trigger “Subscribes to a list.” From there you can select which list you want to monitor for new subscribers.
Build Your Campaign
Next, you’ll begin to build the rest of the automation workflow using actions. Actions are the actual steps your contacts will travel through after they have accomplished your start trigger condition.
Since you have selected the list for your welcome series automation. Next, you will add the “Send an Email” action step using the drag-and-drop builder. Once you have named your email, you can be pushed into the email designer by selecting “Start with a template” or “Start with a past campaign.” From here you can personalize and design the campaign in real-time.
That said, everyone’s automation building style is different. Maybe you want to build the bones of the automation first and come back to the content creation later. If this sounds more like your style, you can simply select the “Save and design later” button.
Conditions
Once your contacts receive the first welcome campaign, it’s time to determine what conditions you want the contacts to meet before they receive any further messages in the welcome series.
First, you’ll want to give your audience time to open the email. In this example, you will add a “Wait” condition. Once added, you can configure it based on specified conditions or a specified period of time. In this example, let’s choose to wait 1 week.
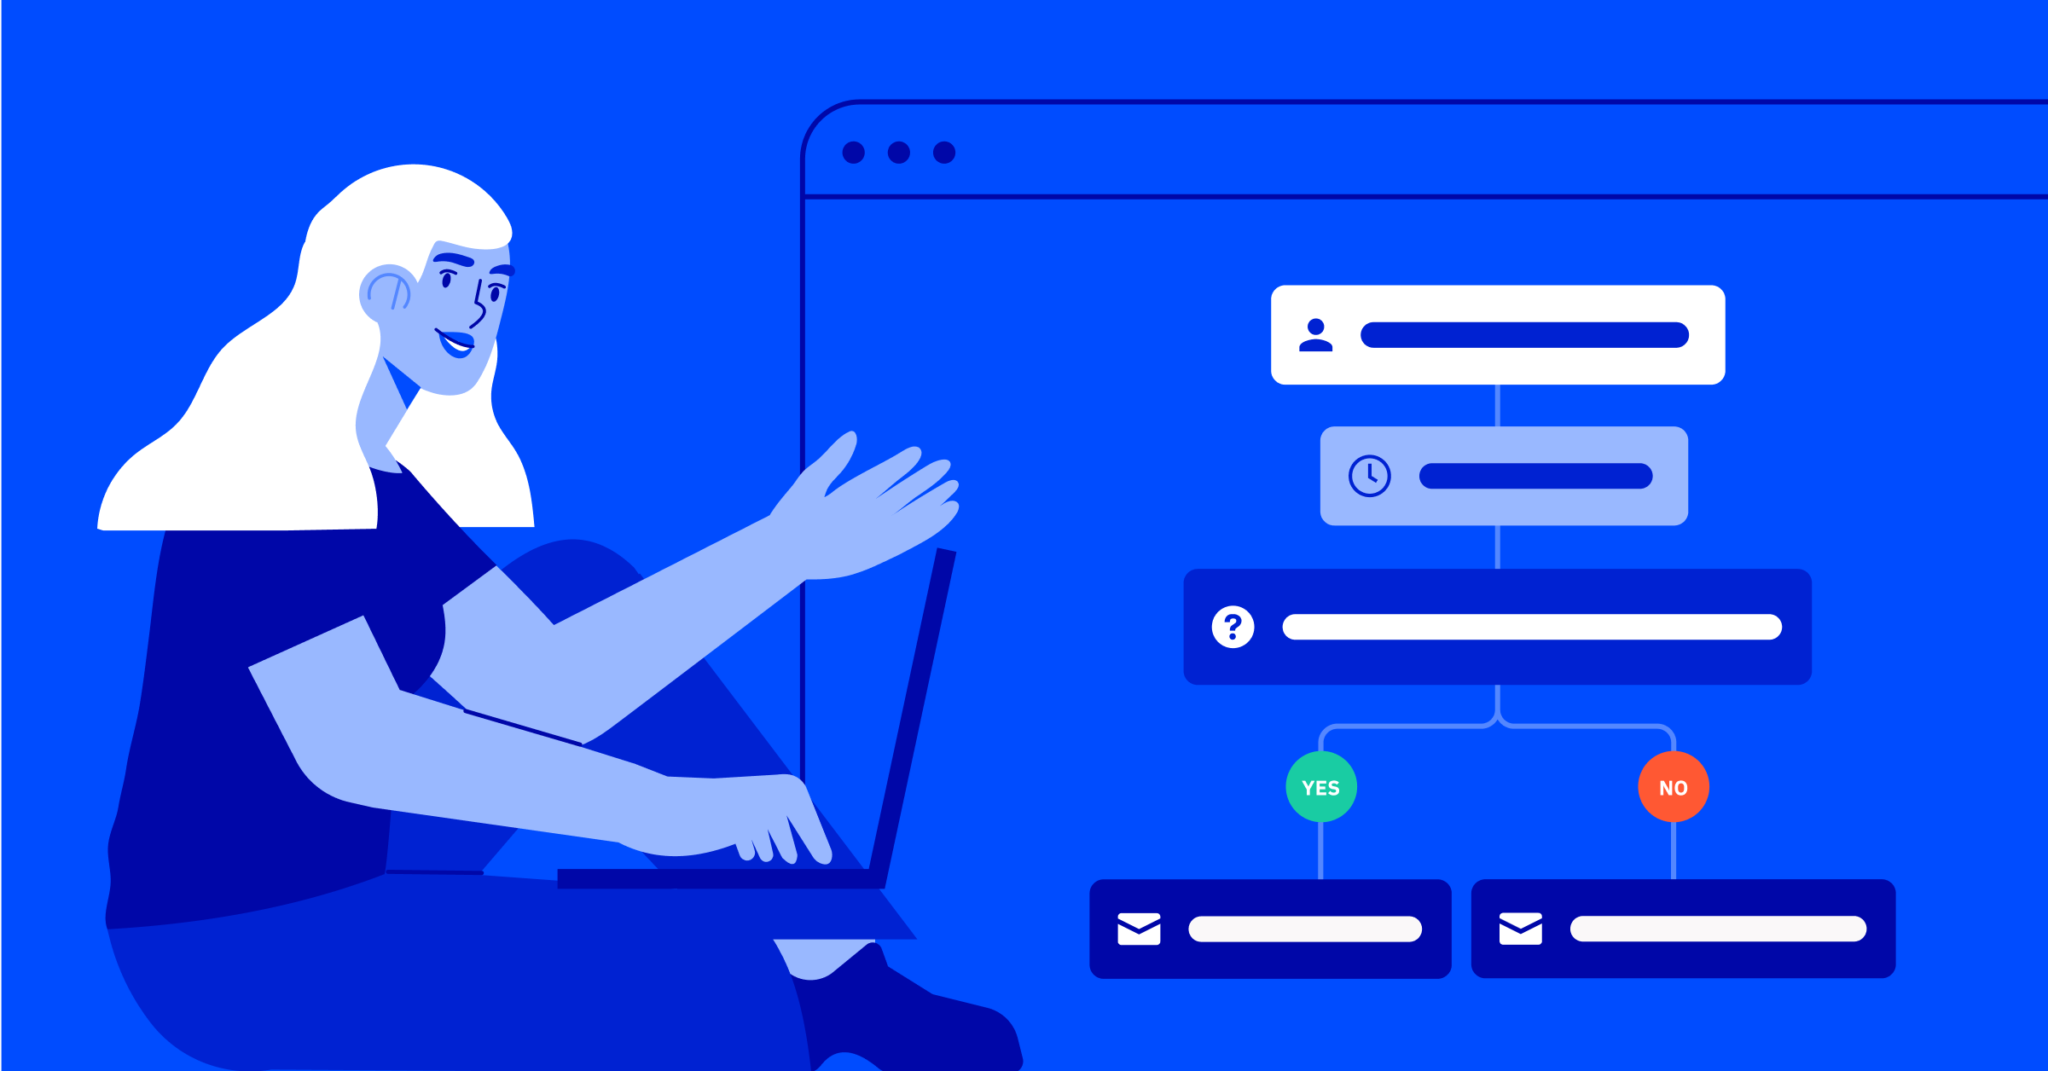
The next action step you’ll add to your welcome series will be an “If/Else” condition. Setting up an “If/Else” condition lets you respond differently based on your specified conditions, in this case, based on your contact’s engagement with your initial email.
In this example, to set up the If/Else block, you will select the condition “has opened,” then in the following dropdown select “campaign,” and finally you will select the name of that first welcome email you created in the automation. By doing this, you are now asking the automation to check after four days if the contact has opened the welcome email.
Contacts will be dispersed down two paths and receive different emails based on engagement. When they open the email within four days, they will enter the Yes path and receive a new email with additional content. You can take this opportunity to introduce them to more of your products, offer a discount code, tell them about a new blog post, or anything else you’d like to share.
Contacts who do not open the first email will be sent down the No pathway, and they will be sent that original welcome campaign as a second-try email that will act as a reminder of their list subscription with your business.
Go Live
After your automation is configured and your campaigns are designed and ready to go, it’s a simple click of a button to go live. You can turn an automation from Inactive to Active with a click of a button in the upper right of the automation builder.
Or, if you are on your main list of automations, you can easily go live by selecting “Make Active” from the dropdown menu to the right of any automation.
You’ll notice a small green dot on the automation, indicating it is live.

Summary
This welcome series automation is simple yet powerful; it allows you to send additional information to your engaged contacts and send a gentle reminder to those who have not engaged with the first communication.
You’ve learned three easy steps of identifying a Start Trigger, building Campaigns, and configuring Condition action steps, all within the automation builder. By building intentionally you can easily apply these steps to marketing funnels, drip campaigns, and many other automations in your customer journey.
